
Brewing Stand
-
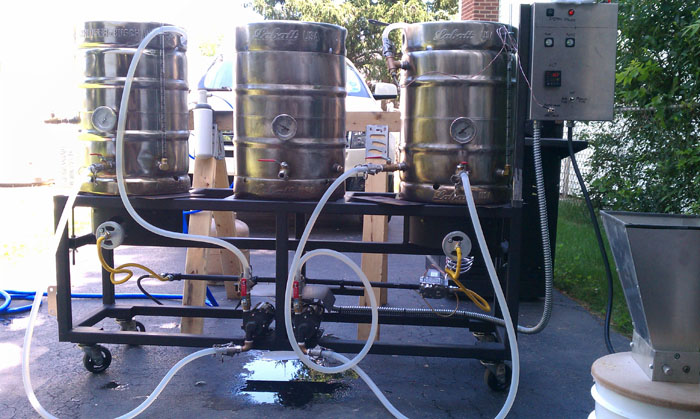
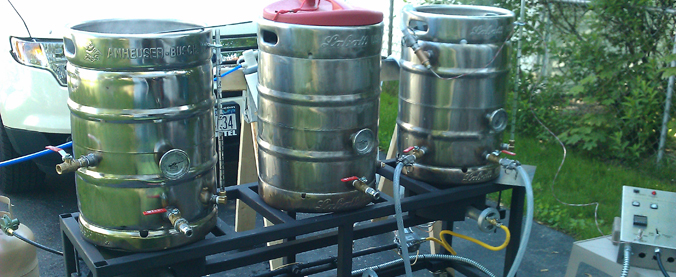
Brewing stand
Our current brewing stand configuration.
-
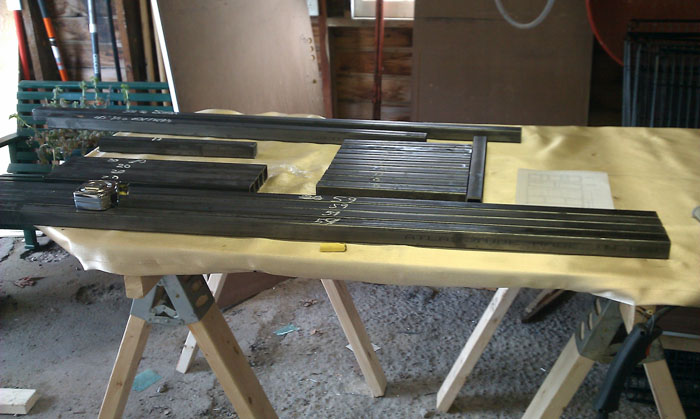
Raw Steel
This is how the stand began. At the start I had no clue how to weld.
-
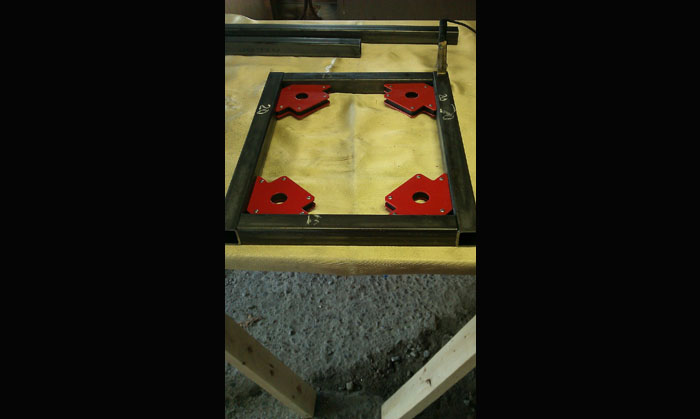
Setting up the first side
Setting up the first welds for the side of the stand using magnetic holders.
-
Hey look, it is staying together
My first tack welds have held. Time to start the final welds.
-
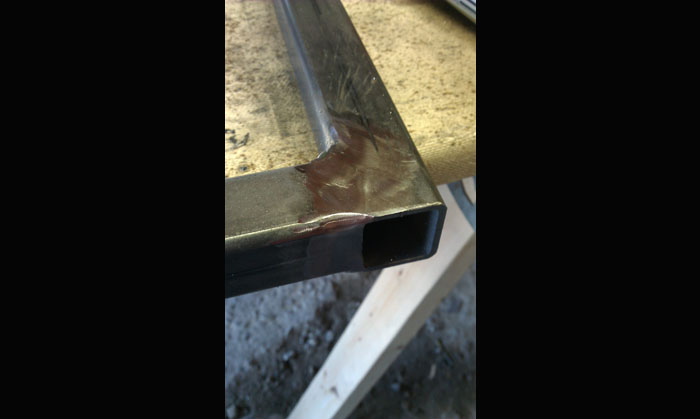
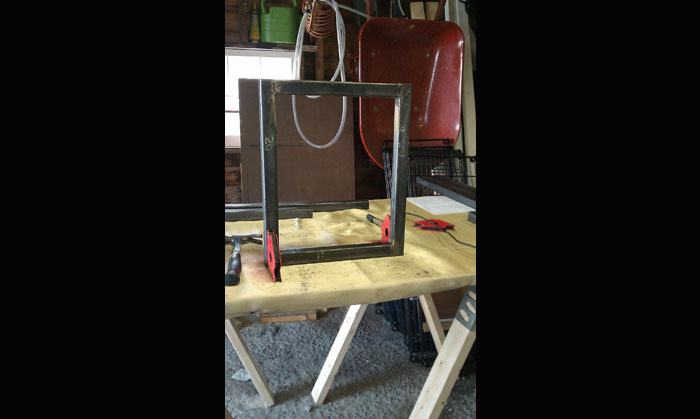
First weld
My first complete weld. Always remember, a beautiful weld is only a grinder away.
-
Setting up the crossmembers
Sides are done, time to add the crossmembers.
-
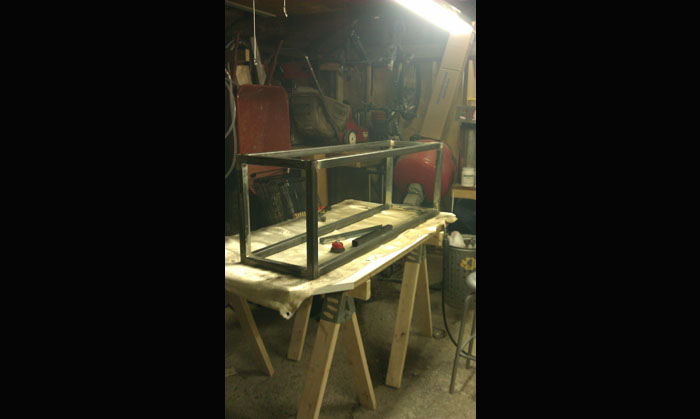
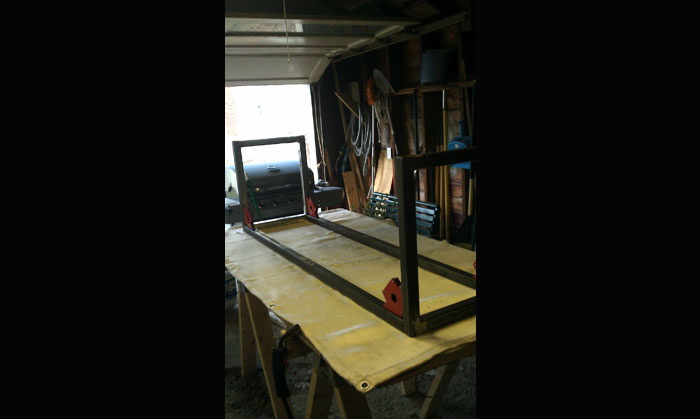
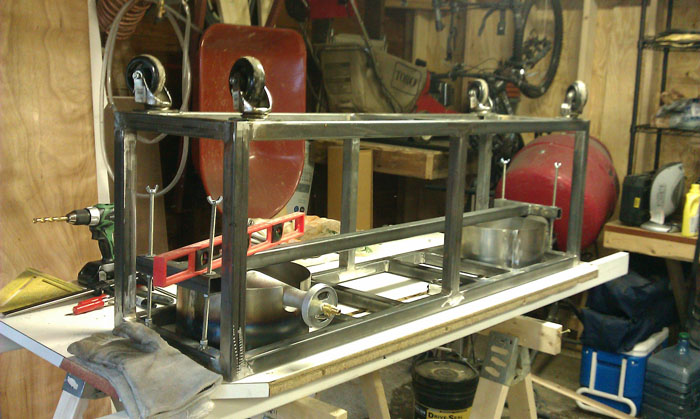
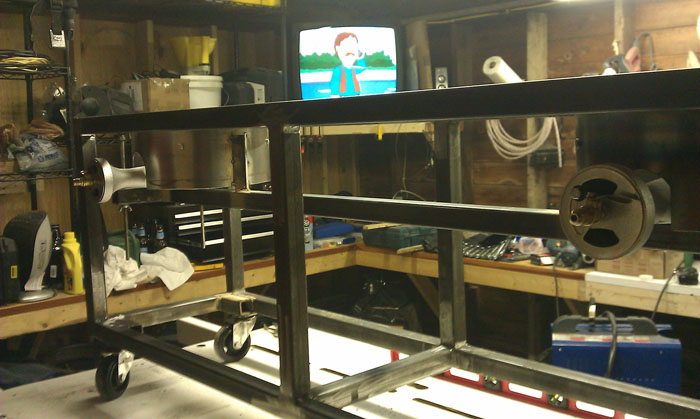
Basic Frame
Day 1 of welding complete. The basic frame is together.
-
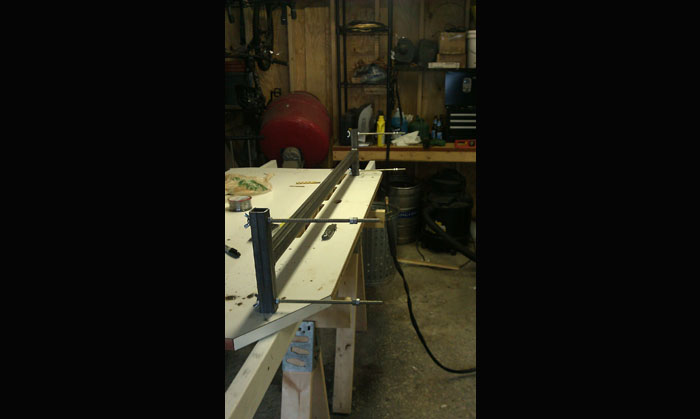
Burner Bar
This bar will hold the banjo burners at various levels below our brewing vessals.
-
Mounting the burner bar
Mounting the burner bar onto the brew stand. The threaded rod allows the burner level to be adjusted as needed.
-
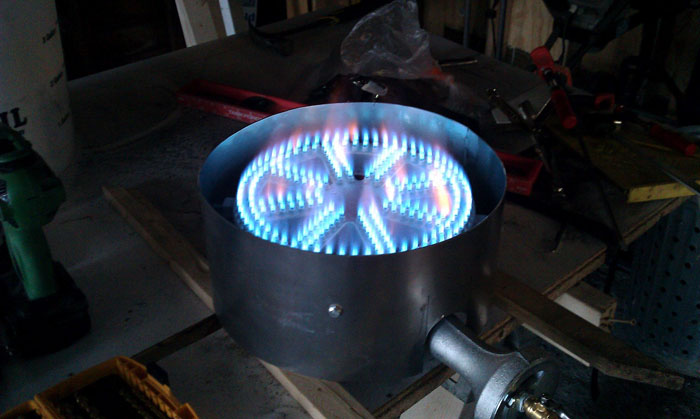
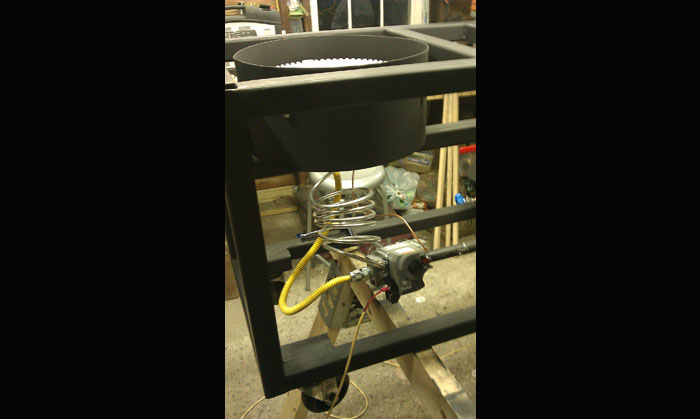
Banjo Burner Test
The first test of our low pressure banjo burners. Nice blue flames and quiet. This is a big difference from our turkey fryer burners we have been using.
-
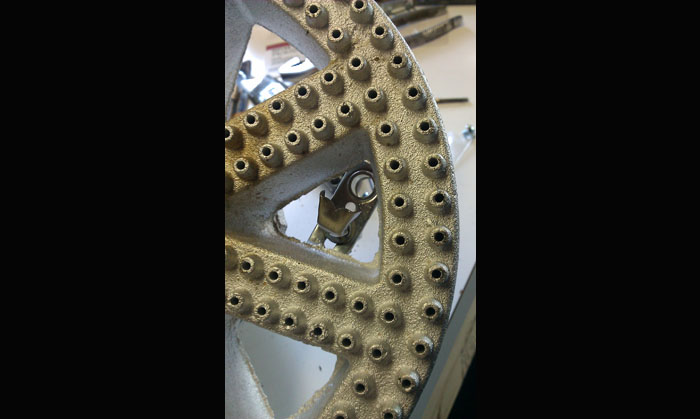
Pilot Light Top
Top view of our pilot light on our HLT burner
-
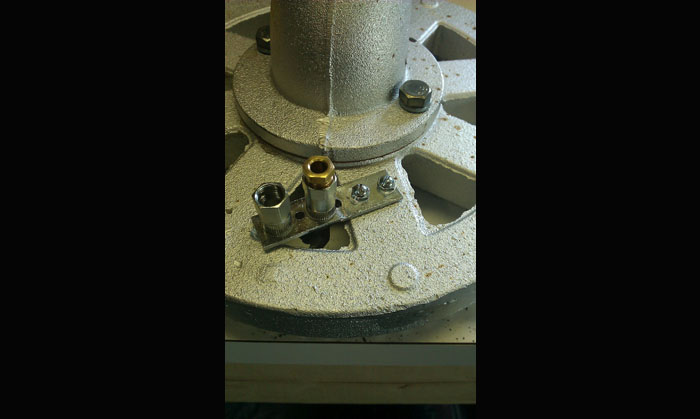
Pilot Light Bottom
Bottom view our the pilot light on the HLT burner. Screw holes were tapped directly into burner body and sealed with gas pipe compound.
-
Time to grind
Stand is all welded and ready to be ground. Time to let the sparks fly!
-
HLT gas valve
This vale is a standard Honeywell gas furnace valve. Our PID controller opens and closes this valve allowing precise control of our HLT temperature.
-
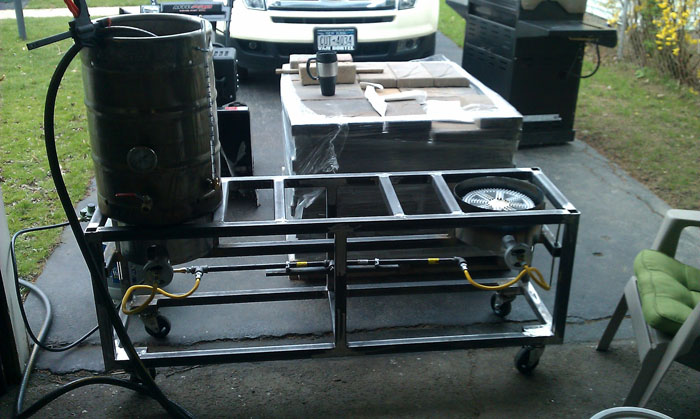
First Boil Test
First boil test with a full load of liquid in the brew kettle. Stand held up just fine.